
In addition to the makeup that we apply and remove every day, a manicure is a ritual that is also easily subject to change. Unlike hair, the coloring of which requires carefulness and patience, nails forgive mistakes a lot easier and allow us to play with colors whenever we feel like it.
However, even when we use quality nail polishes and give our nails the best care, they still tend to dry out with the frequent use of nail polish removers, especially those containing acetone. This is the reason why so many of us turn to professionals for manicuring.
But, if you enjoy a manicure on your own, you often change the color of the nail polish and are afraid that you will destroy your nails with such a treatment, using a professional set of tools like the MelodySusie manicure at home kit, can help a lot. Moreover, in the long run, it can be a real-time and money saver.
So, you too can do your nails successfully at home. There are some tips you need to know of, in order to make the best of your at-home manicuring. Here are some tips, to save time, and money, and make your nails look like you’ve just got out of a beauty salon.
Give your nails the right shape
The most perfect coat of nail polish would be nothing without the perfect shape of the nails. Therefore, the first step of a manicure should always be nail shaping. Whether you want round, oval, square, or pointed, it’s a matter of taste, just like the choice of nail care tools.
The best way to shape nails is a classic nail file, which comes in different shapes depending on the type (soft, hard, gelled) of nails. You will achieve the desired shape faster with nail clippers or scissors, but they may roll more and are not suitable for fine shaping. For filing, the nails should be dry, and due to their structure, it is preferable to file in one direction only, ideally from the outside to the inside.
Cuticle removal
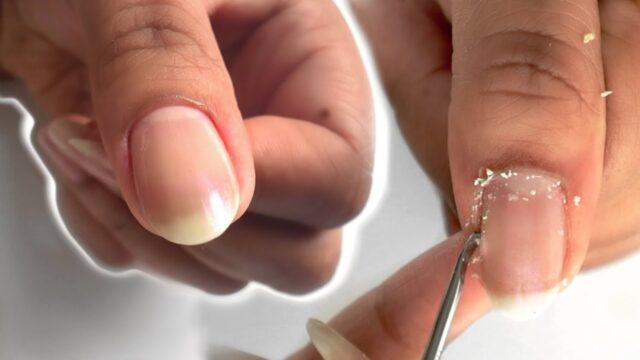
The hand bath will nicely soften the skin around the nails. Because it is better to push the sensitive skin around the nails than to cut it. Here you can use manicure sticks with a slanted end, such as rosewood sticks or specially shaped plastic sticks.
A faster alternative is offered by special cuticle removers, for example in the form of specially soaked cuticle sticks: The cuticles are briefly soaked in gentle oil so that they can then be pushed back more easily. The nail moon, the white part of the nail root, should always be clearly visible. If necessary, carefully remove the remaining skin with fine nail clippers.
Smooth polishing and care

Whether you have an all-in-one file or a special buffing rasp – to free your nails from bumps or small grooves, you should polish them smoothly. With soft nails, it is advisable to skip this step, as polishing can make the nails even thinner or more brittle.
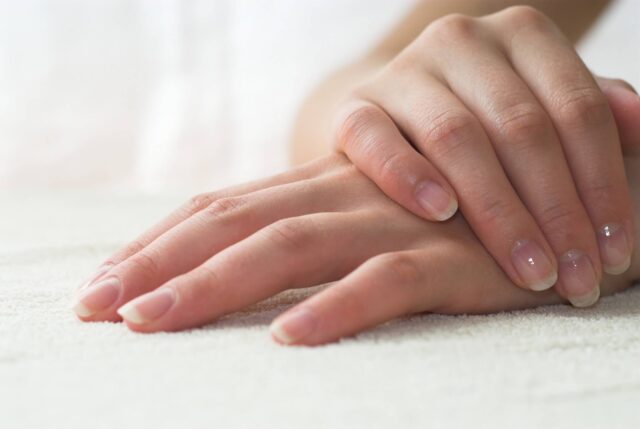
After shaping and polishing, nails should be well cared for. First of all, best with nail serum. It’s great that it absorbs quickly into the nails, so there’s no excuse not to use this step more often.
It is also advisable to treat sensitive and easily brittle nails with care oil: simply apply a few drops, and gently massage them, and the result of shiny and supple nails will not take long. In addition, we protect the cuticle from drying out at the same time, and in the evening before going to bed you can use a little more oil so that it can work well during the night.
Once you’ve done this preparation part, here are some tips on applying the nail polish…
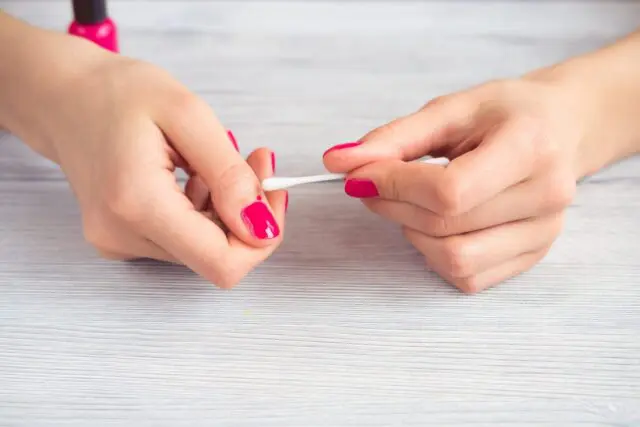
- Dip an ear cleaning stick in Vaseline and carefully apply it to the skin around the nails. In this way, you will prevent the polish from spilling, and it will be easier to remove it if it “runs away” from the side during application.
- Apply transparent nail polish twice before applying colored one to prevent premature peeling.
- If you want to highlight the color of the nail polish, use a bottle of white matte as a base.
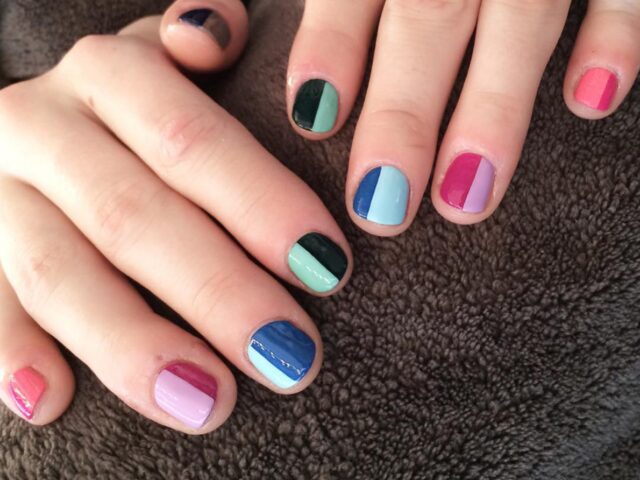
- Use duct tape if you want to paint your nails with two different colors. Apply a lighter-colored polish to the entire nail, let it dry, then stick the adhesive tape on the place where you want the color to remain. Apply nail polish in a different color over the exposed nail. When the second layer is dry, remove the tape and enjoy the two-color visual art. Additionally, you can make your own nail polish by mixing clear nail polish with powder eye shadow.
Source: glamour.com - Immerse the painted and dried nails in a cold bath of water and ice to stabilize the color of the nails and increase the durability of the manicure.
- Remove boring nail polish with glitter in the following way: dip a cotton ball well in acetone, wrap the cotton ball around the nail, cover the cotton ball with aluminum foil, and tie it with an ordinary rubber band. Leave the acetone on for 5 minutes. Unwrap the foil and cotton wool and simply peel off the remaining polish.
Finally, if you plan to do your nails at home, permanently, then you also need to know how to take care of your tools. Organize your nail polishes in a separate box to store in a cool, dry place.
If you have a lot of them, cover the top part of the cap with duct tape, and apply some nail polish on it – so you can see at a glance which polish you need without touching the bottles. This will significantly increase their life span.
Deciding on doing your manicure at home is a perfect solution for those who cannot find time for appointments at saloons. With minimum investments and skills, your nails can be very well groomed.